So, as many of you know, I recently finished building this...

My DIY ottoman inspired by the Humphrey Ottoman by Shine (by SHO). I decided to try my hand at building the ottoman since the real thing was way beyond my price range. I said I would share a little step-by-step tutorial on how the ottoman was put together, and here it is!
First, I enlisted the help of my youngest brother, the handiest member of the family. We drew up a plan and then went shopping for some 3/4" plywood. Mr. Handy-Man (and a friend) cut the plywood according to our plan and the proper dimensions. The ottoman is 18" high and 22" wide.
Supplies Needed:
- 3/4" Plywood
- White Vinyl (I used marine vinyl) OR Leather
- Padding
- Scissors
- Staple Gun
- Pencil, Paper & Tape
- Upholstery Tacks
- Hammer
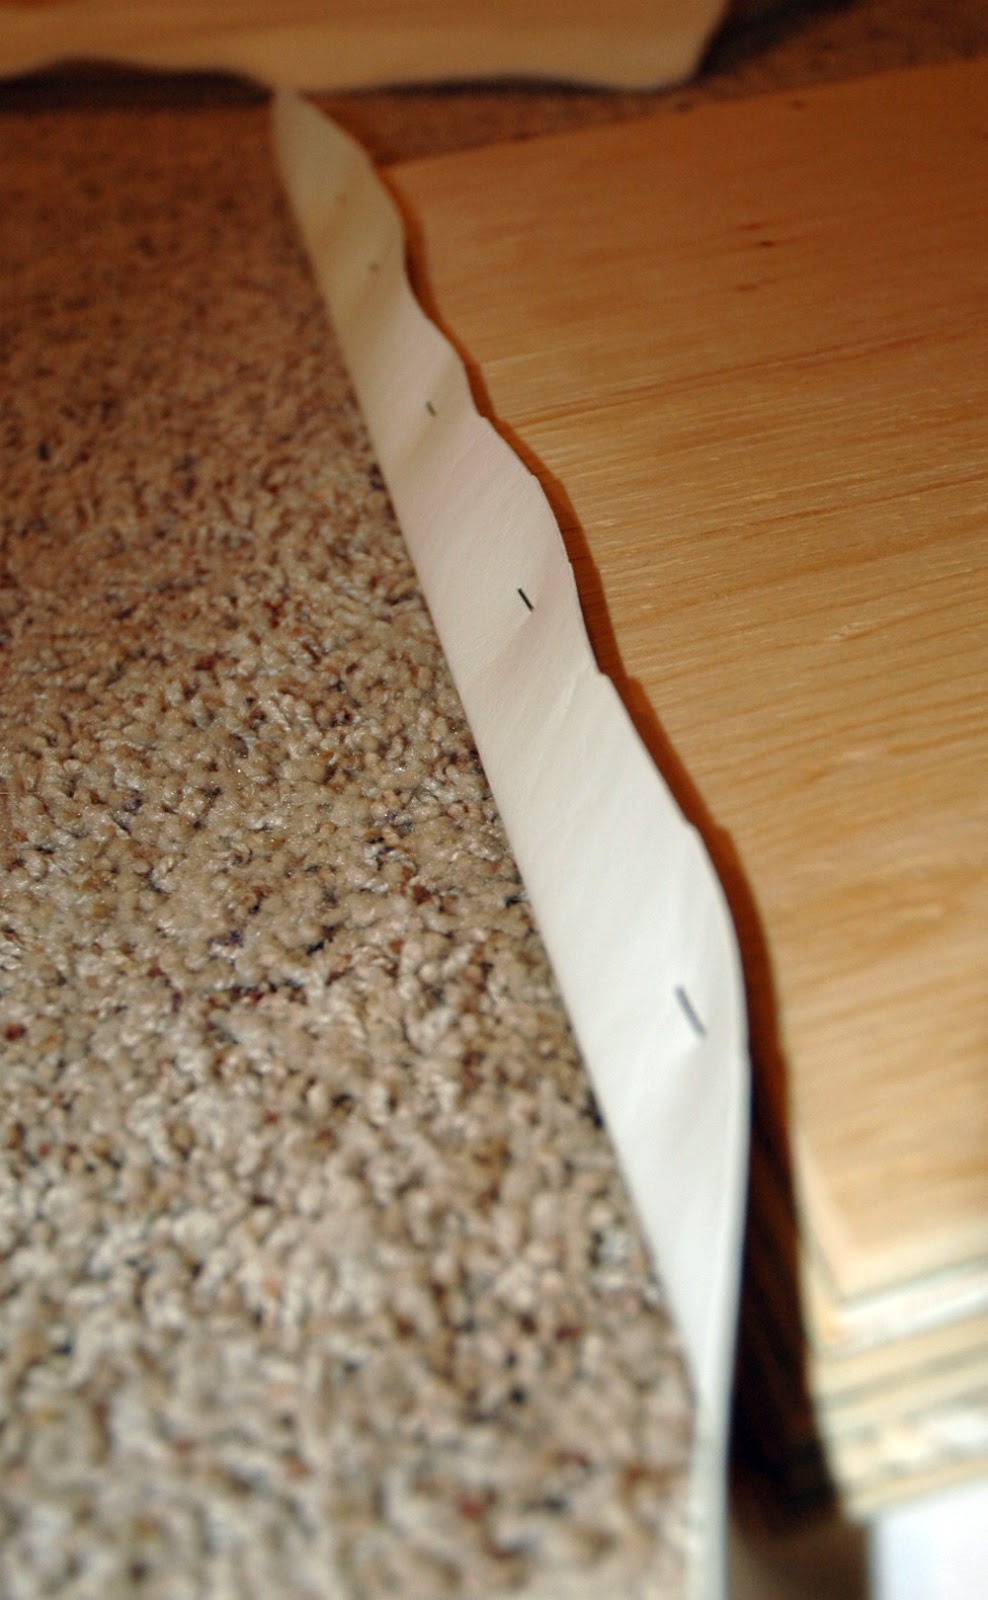
1. Cut the plywood according to your desired dimensions with 45 degree angles at the edges. (See angled edges below.) The angled edges enabled us to cover each of the sides of the ottoman and then fit them together.

2. Cut out the vinyl and padding pieces to cover each of the sides. Be sure to leave a few extra inches so the vinyl can wrap arond the edges of the plywood to be stapled in place.

3.Fit the padding between the vinyl piece and the ottoman side.

2. Cut out the vinyl and padding pieces to cover each of the sides. Be sure to leave a few extra inches so the vinyl can wrap arond the edges of the plywood to be stapled in place.

3.Fit the padding between the vinyl piece and the ottoman side.

4. Pull the vinyl tightly around the edge of the plywood and staple in place. The padding should not wrap around at all. Be sure to pull the vinyl snug around all the sides of the plywood and make sure the staples go in straight. They must be as flush with the plywood as possible for the ottoman sides to fit together properly.
The corners were a little tricky to do. I found it was best to trim away some of the excess vinyl and then pull the vinyl as snugly as possible. The excess vinyl can be trimmed off once all the stapling is finished.
Here's a look at all of the covered sides.

5. Fit all of the sides and the bottom together. (The top of the ottoman is not attached. It can be lifted out so things can be stored inside.) My brother did this part and I wasn't there when he did it. I don't have any pictures to share unfortunately. I know he used several L-shaped brackets and screws to fit all of the sides (and the bottom) together. One thing to keep in mind is to make sure the screws aren't too long; you don't want them to go through your ottoman and puncture the vinyl!
We used L-shaped brackets that looked something like this...

6. Tip the ottoman on its side and cover one side with paper. Tape in place. This will become the right side of your upholstery tack pattern. Draw the pattern onto the paper. (This will take some time and patience to get it just right. As you can see, I printed off the pattern I was hoping to copy which really helped.)

7. Nail the upholstery tacks in place on top of the paper, but don't nail them down completely. You want to be able to remove the paper easily without disturbing any of the tacks.

Here's a look at all of the covered sides.

5. Fit all of the sides and the bottom together. (The top of the ottoman is not attached. It can be lifted out so things can be stored inside.) My brother did this part and I wasn't there when he did it. I don't have any pictures to share unfortunately. I know he used several L-shaped brackets and screws to fit all of the sides (and the bottom) together. One thing to keep in mind is to make sure the screws aren't too long; you don't want them to go through your ottoman and puncture the vinyl!
We used L-shaped brackets that looked something like this...
6. Tip the ottoman on its side and cover one side with paper. Tape in place. This will become the right side of your upholstery tack pattern. Draw the pattern onto the paper. (This will take some time and patience to get it just right. As you can see, I printed off the pattern I was hoping to copy which really helped.)

7. Nail the upholstery tacks in place on top of the paper, but don't nail them down completely. You want to be able to remove the paper easily without disturbing any of the tacks.

8. Once all of the tacks are in, remove the paper and one side of your pattern is complete! (This is when you start to get really excited.)

9. Cover the completed side with fresh paper and tape in place. Trace the completed upholstery tack pattern onto the fresh paper. (I used 154 tacks on each side of the pattern.)

10. Flip the paper over and tape in place on the opposite (left) side (your traced pattern will be on the underside of the paper but you should be able to see it well enough). Nail the tacks in place (see step 7). Remove the paper and admire your work! Oh, and jump up and down in excitement!

If that seems like a lot of work, I guess it kind of was. I'm very happy with the finished product though, so I think it was well worth it. I will likely line the inside of the ottoman at some point.
As I mentioned before, I was able to pull this project off for less than $150 which may not be cheap, but it's a heck of a lot cheaper than the real thing! DIY sucess.
-Sarah